Once we got the grade set just right and the footings poured (see those details here) it was time to prepare the base for the patio.
Many, many yards of crush and run stone went into this process, and our plate compactor and skid steer were the all-star tools of the day!


Basically, in order to set a strong, stable base for a patio, we like to lay geo-textile fabric and add several inches of sand and then several inches of compacted stone in order to stabilize the pavers and prevent patio warping from tree roots or freeze-thaw cycles. To create the stone part of the base we alternate spreading a layer of stone and compacting the base until we have built up to the desired depth. It's also important to note that we like to prepare an area a bit larger than the size of the patio so that we have several feet of stable soil/sand/stone material on all outside edges of the patio as well. We finish the look by feathering this part of the base into the existing grade of the yard and covering it with some quality topsoil to allow for sod or seed to make a seamless transition from the patio into the yard. (This approach also allows for excellent drainage off the patio and away from the house.)
So during the base preparation portion, the work area went from looking like this:

To looking like this by mid-day on Wednesday:

Here are some action shots of this process:


Notice that we bring the stone and sand over to the work site bucket by bucket using the skid steer. Though the process of moving materials is tedious, it is necessary as the trucks that deliver the material can get no closer to the work area. Thank goodness for the skid steer!
By the end of the day Wednesday, the base was nearly prepared, the electric sleeves were in, the footings were curing, and everything was ready for Thursday: Paver Day!
Here's a quick peek at the materials we used for the patio:

We had 6 palettes of these beige beauts delivered to the site.
Dionicio, Jose M and Jesus spent all day Thursday laying out the soldier course (edging) on the deck side of the patio as well as the 'meat and potatoes' of the patio which sits at a 45 degree angle from the soldier course- a really beautiful effect! At the end of the day Thursday, this is what we were looking at:

Beautiful, huh? It's amazing how quickly things begin to take shape once the pavers go in!
Also, notice how those black footings are now at grade- we actually built the grade up to be flush with the top of each of these. (We had placed them at varying heights based on the desired grade.)
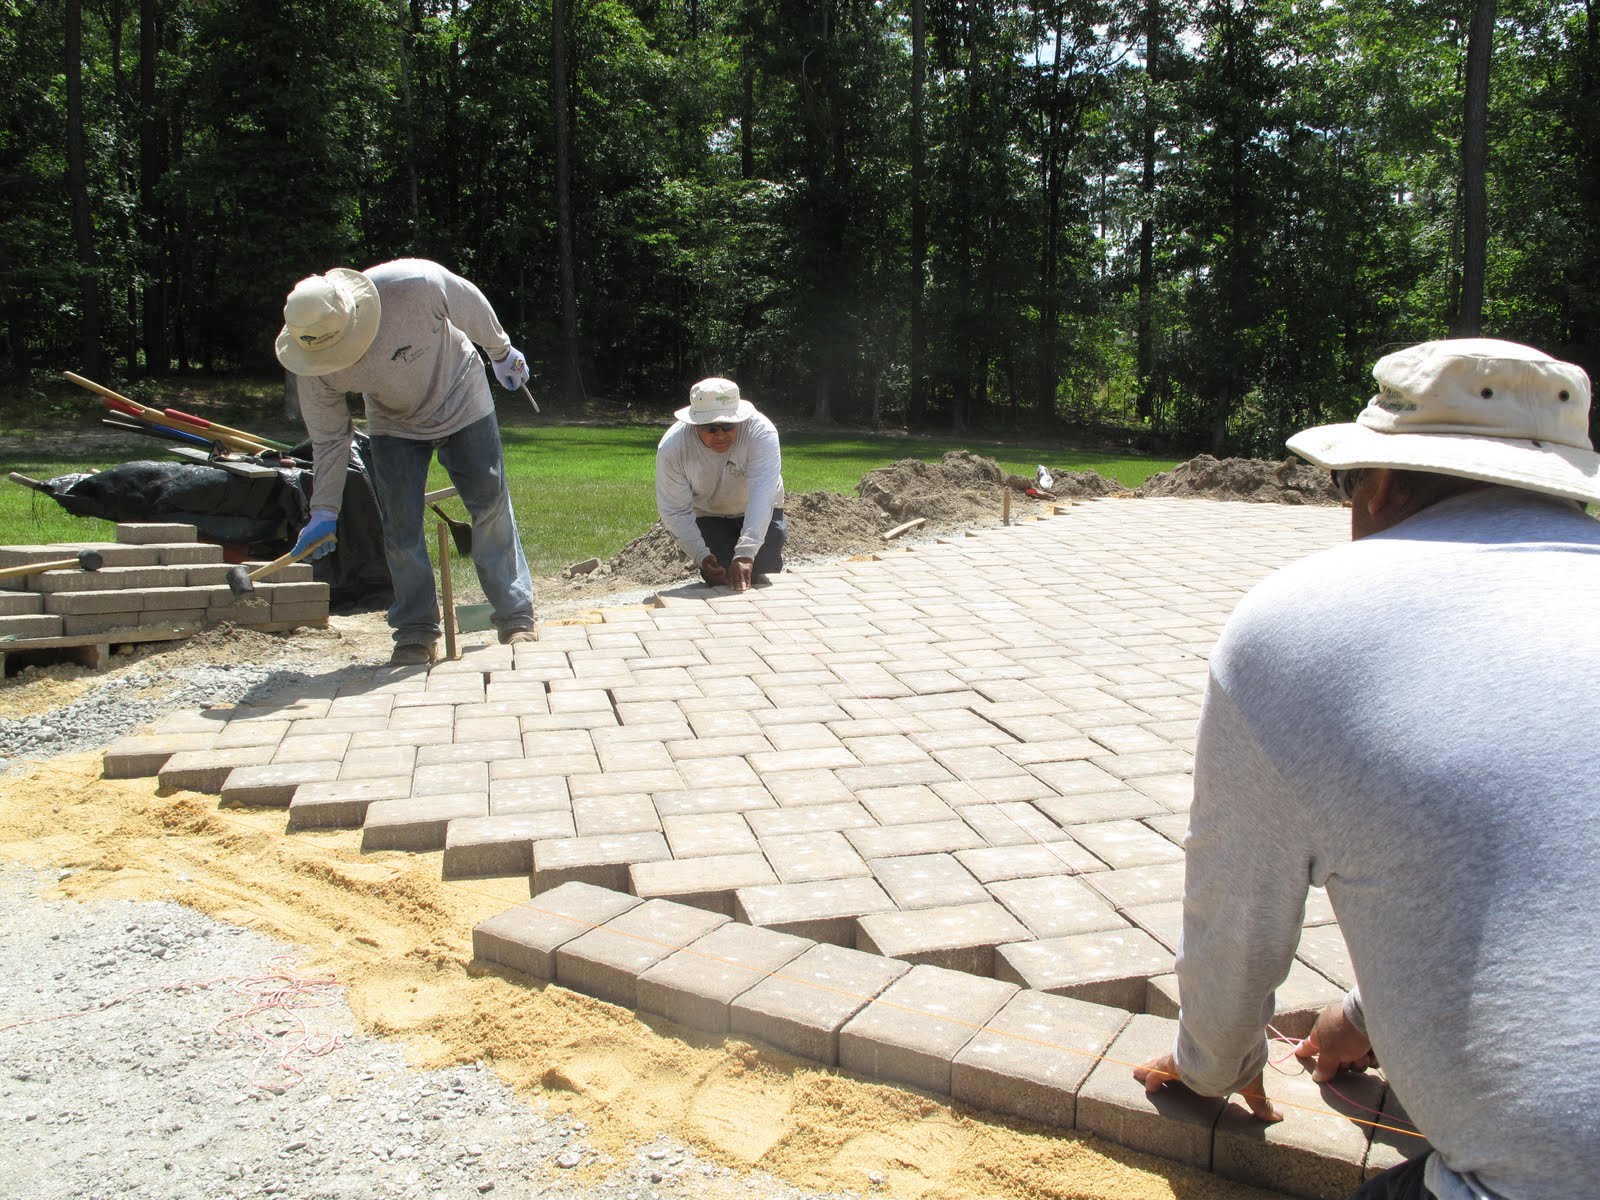
So, with the pattern in place, the crew spent most of the day today (Friday) using a string line to meticulously check the angles on each row of pavers. It might seem overly cautious to check every paver row for precise angle measurements, but if one row gets even slightly off, the effect is compounded by every row after it, leaving a really evident flaw in the pattern of the overall patio.
So for a few hours. Dionicio and Jesus pulled string while Jose shifted, hammered, and wiggled pavers until the lines were just right. It's all about the details!


Once the lines were right, it was time to begin measuring for the cuts that needed to be made to the pavers to fill the gaps between the soldier course and the 45 degree pavers:

At this point we've wrapped up week 1 of 'The D's Outdoor Living Makeover!'
What's next?
We'll be posting next week as we start the pergola installation, finish up the patio and begin working on the kitchen. Exciting things to come! Stay tuned!
No comments:
Post a Comment